
The first step in rebuilding the catch basin deck was some minor redesign. When I built the original deck, I thought it was a great idea to attach each deck section to the concrete basin with heavy hinges. The hinges worked well, and I could conveniently raise the heavy deck panels to get access to the basin. But there was a serious drawback.
The top of the basin was five inches below the surrounding ground level and patio. This allowed the top of the deck to be even with the surrounding ground level. But it meant that there had to be space behind the deck for the lower edge of the deck panels to go into when the panels were raised.

I also needed a solid base for the panels to rest on when they were raised. To this end I built a channel behind the basin, about five inches wide, and filled it with concrete up to the level of the top of the basin.
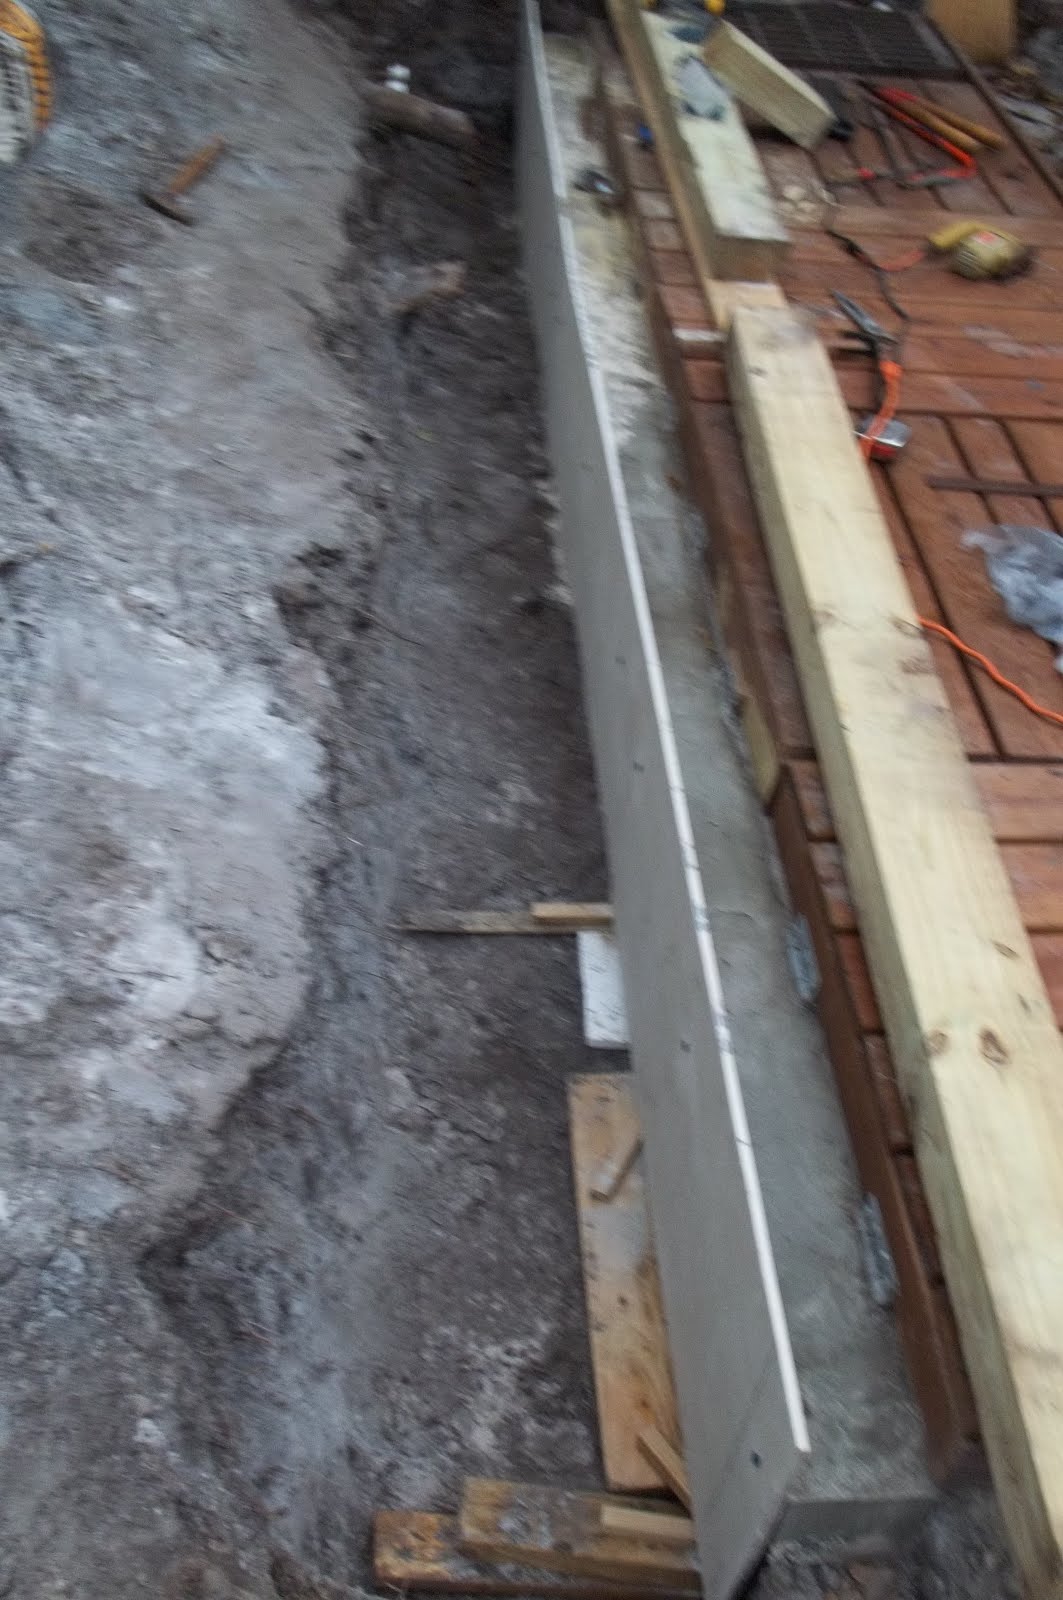
The concrete provided a firm base for the panels to rest on when they were raised, but now there would be a gap between the deck and the surrounding ground when the panels were in their normal position. That would be a tripping hazard, as well as an aesthetic defect.
To avoid having the gap I bought a 4 by 4 beam (seen in the picture above) to put into the channel when the panels were lowered. The top of the 4 by 4, would come up just to the bottom of the deck planks. So I added deck planks on top of the 4 by 4 to create a level surface.

This provided a level surface, even with the surrounding ground level, and I thought it was aesthetically pleasing. The only drawback was that I would have to remove the deck plank and the 4 by 4 in order to raise a panel. This negated a lot of the benefit of having the panels on hinges. But it was the best solution I could think of.
A problem that I didn't anticipate was that the 4 by 4 would swell as it absorbed moisture, making it much more difficult to remove. After a while I had to use a crowbar to prise it out of the channel.
The upshot of all this was that I decided that the hinges were more trouble than they were worth. With the new deck, I decided not to attach the deck panels to the basin and just remove a panel when I need to get access to the basin. There would be no need for the channel and the wood to fill it when the deck panels were in their normal position. The panels should be heavy enough to be stable without being attached to the basin.
This raised the question of what to do with the channel.

One solution would be to cover the channel with more pavers, and continue to have the deck exactly cover the basin. But the pavers had been installed by a professional, and I was not confident that I could do a good job of installing more of them. Plus I didn't have more pavers. If I bought new ones, they would probably not match the old ones. My conclusion was to leave the channel and pavers alone and make the deck six inches wider so that it would cover the channel.
In an effort to make the new deck last longer than the first one, I decided to use synthetic wood deck planks. These are more expensive than wood planks, but they presumably will never rot. Also, they don't need to be sanded or stained. The downside, in addition to cost, is that they are considerably heavier than wood planks of the same size. The old wood panels were so heavy that I could barely lift them. The new panels would be wider and made of much heavier material. If I made them match the old panels, there would be no way I could lift them. There was no choice about the width of the panels; they must be the width of the basin, plus the channel. I decided to make the new panels half the length (long dimension of the basin) of the old one. So two new panels would replace on old panel. They would still be heavy.
There was still the issue of what to use for the frames that hold up the deck panels. I used "pressure treated" pine 2 by 4's for the original deck. Despite the pressure treating, some of these boards had rotted. I considered using metal for the frames, but decided against that. I don't know anything about metal work and don't have any tools for it. I thought about trying to get the frames constructed for me by a metal fabricator, but decided that that would probably be too expensive.
I found that Lowe's now has lumber designated as "ground contact" pressure treated lumber. The signs on this lumber indicate that it is more rot resistant than the ordinary "pressure treated" lumber. I decided that this was the best alternative available. I bought enough 2 by 4's and synthetic wood deck planks to make two new, half size, panels, which would replace one of the original panels, about one fourth of the deck. I wanted to check out my design before buying enough material for the entire deck. Just this much material cost more than $200. And it was as much as I could carry in my Prius.
As with the original deck, I would use construction hardware and screws (no nails) to build the frames for the deck panels.
Construction Hardware


Angle Brace Joist Hanger
I would use an angle brace to connect two 2 by 4's at a place where they would be supported by the basin. I would use a joist hanger to connect one 2 by 4 to another at a place where there was no support.
I drew up detailed plans for the two distinct kinds of deck panels, one with the planks running across the basin and one with the planks running parallel to the basin.

In the final product, each of these half size panels would be paired with another of the same kind to make an approximately square section with all of the deck planks running the same direction, matching one of the original panels. But initially I wanted to make one panel of each kind in order to check my plans. I started with the panel having planks running across the basin (the lower one in the picture above.)
Having only two hands is a distinct disadvantage when it comes to assembling deck panel frames. I tied the crosspiece to a table to hold it up while I drove in the screws to attach it to the end piece.

OK, this was a hack, but it got the job done.
I did the same thing again and then put the two parts together.

All of these joints would rest on the basin. So I used angle braces and construction screws to attach the 2 by 4's.
Then I used joist hangers to attach two cross pieces in the inside of the frame. I put the finished frame onto the basin in order to check the fit.

This looked good. So I cut three deck planks to the width of the frame and attached them to the frame with deck screws.

Half of one section was now complete. This panel weighs 45 pounds.
I followed the same steps to build the other panel, according to the plan at the top of the plans picture above. This time I needed to cut eight deck planks 18 inches long, to run across the frame in the narrow dimension. Here is the final result. This panel weighs 42 pounds.

With that step, one quarter of the deck was complete.

To be continued.